Learn how to inject semaglutide safely. Follow our medical guide on step-by-step subcutaneous injection, site rotation, and managing side effects.
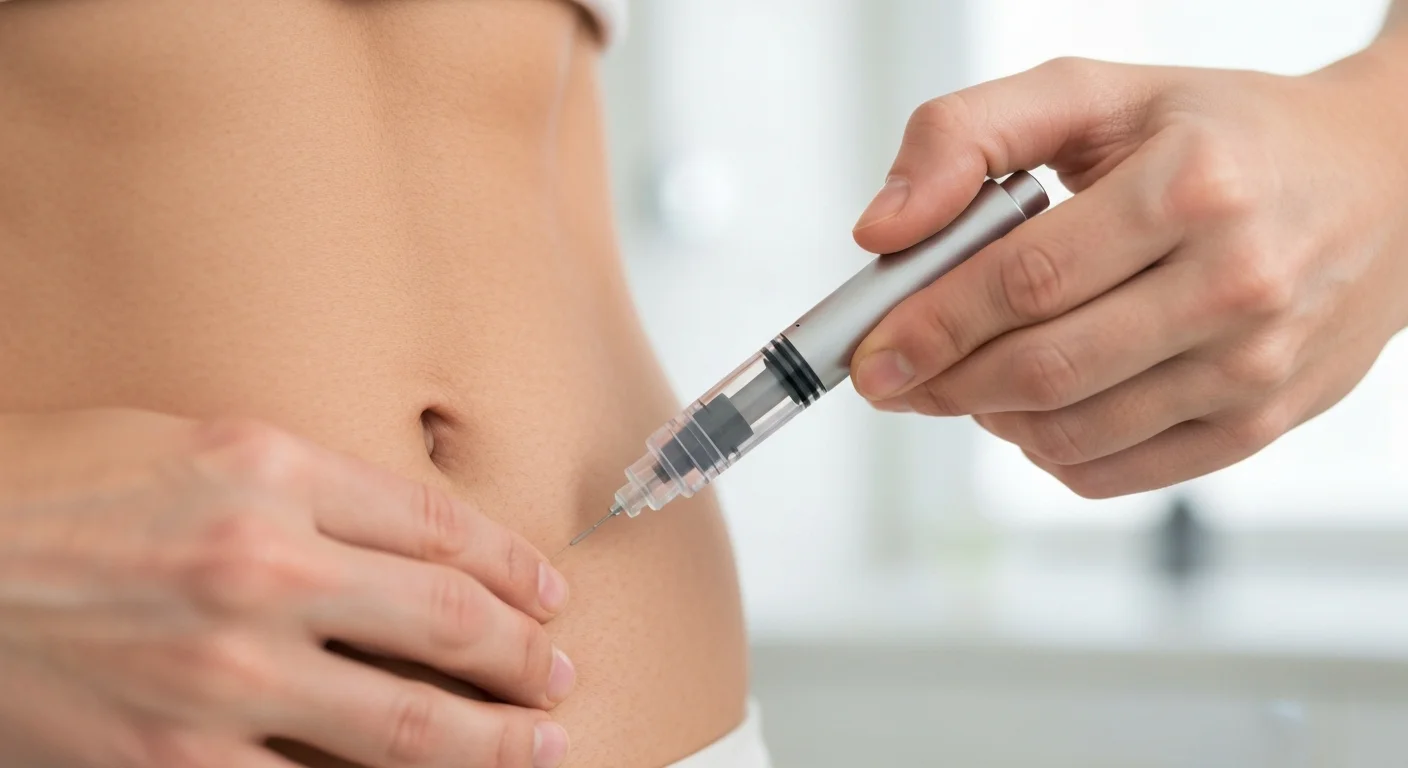
Injecting Semaglutide correctly requires administering the medication once weekly into the subcutaneous fat layer. Choose the abdomen, front thigh, or back of the upper arm as your injection site. For patients experiencing severe gastrointestinal side effects like nausea, initiating treatment in the thigh is the highly recommended choice because it can slow down the initial peak of drug absorption. Always rotate your injection site weekly and clean the area with alcohol before administering either a pre-filled autoinjector pen (such as Wegovy® or Ozempic®) or a sterile insulin syringe for compounded formulations.
Medical Disclaimer: The clinical information in this guide is for educational purposes only. It is not a substitute for professional medical advice, diagnosis, or treatment. Always consult a qualified healthcare provider before initiating any subcutaneous injection protocol.

Subcutaneous injections deliver medication into the fatty tissue layer located directly below the skin. This layer contains minimal blood vessels, which allows Semaglutide to absorb slowly and consistently over seven days. Clinical guidelines from the U.S. Food and Drug Administration emphasize using sterile techniques for home injections to avoid infection. Understanding the mechanical differences between delivery systems prevents dosing errors and local tissue reactions.
At CardioMender, MD Weight Loss Specialists, our board-certified medical team prioritizes patient safety and comfort. We provide intensive, hands-on, in-office injection training for all new patients at our clinical facility in Pembroke Pines, FL. This supervised training ensures you feel entirely confident administering your medication at home. Our clinic serves patients across South Florida, including Fort Lauderdale, Weston, Plantation, Miramar, Hollywood, and Miami, from our central office in Broward County.
Before initiating your injection, review these five core clinical principles:

Subcutaneous tissue distribution varies across the human body, but three primary anatomical zones provide reliable drug delivery. Selecting the best zone depends on your self-administration capability, comfort level, and personal history of gastrointestinal side effects.
The first approved zone is the abdomen. To perform an abdominal injection safely, you must observe the two-inch rule. Measure two inches away from your belly button in any direction. Avoid injecting into areas with stretch marks, scars, bruises, or skin irritation, as these tissues have altered vascularity and absorption rates.
The second approved zone is the thigh. Target the front and outer aspects of the middle third of your thigh. This area typically offers a stable fat layer and is highly accessible for self-injection, making it the preferred choice for patients who feel nervous about abdominal administration.
The third approved zone is the outer back of the upper arm, also known as the tricep region. Because this zone requires a precise angle, it is generally easiest to utilize if a family member, caregiver, or clinical provider is administering your weekly injection.
While some patients search for the single best injection site to maximize weight loss, clinical evidence confirms that overall efficacy remains identical across all three approved locations. In clinical trials published by The New England Journal of Medicine, patients achieved an average of 14.9% body weight loss over 68 weeks with consistent subcutaneous delivery, regardless of the specific anatomical site used.
However, the chosen site directly influences the speed of initial medication uptake. The abdomen has higher localized blood flow than the thigh, which leads to a faster absorption peak. According to data from the U.S. Food and Drug Administration, roughly 44% of patients using high-dose semaglutide experience nausea. Transitioning your weekly injection from the abdomen to the front of the thigh can flatten this absorption curve, successfully mitigating acute nausea, vomiting, and acid reflux.
To prevent localized complications, patients must practice strict site rotation. Injecting into the exact same spot repeatedly can cause lipodystrophy. This condition creates hardened, lumpy fat deposits under the skin that permanently impair medication absorption. Follow a systematic rotation schedule, such as alternating between your left thigh, right thigh, left abdomen, and right abdomen.

Semaglutide is prescribed in two distinct formats: branded pre-filled autoinjector pens and compounded glass vials. Understanding which device you have determines the exact mechanical steps required for your injection.
Branded options like Ozempic and Wegovy utilize manufactured pen devices, but their operation differs. Ozempic pens are multi-dose, dial-back devices that require you to manually attach a disposable pen needle and dial your specific dose before each weekly injection. Wegovy pens are single-dose, disposable autoinjectors with an integrated, hidden needle that triggers automatically when pressed firmly against the skin. Compounded Semaglutide is typically distributed in multi-dose glass vials, requiring the patient to manually draw up the precise volume using a sterile insulin syringe.
| Medication Form | Pen/Vial Type | Needle Type/Gauge | Dosing Mechanism |
|---|---|---|---|
| Ozempic® | Multi-dose dial-back pen | Ultra-fine disposable pen needle (typically 32G, 4mm) | The patient manually dials the prescribed dose (e.g., 0.25 mg, 0.5 mg, 1.0 mg) before each use. |
| Wegovy® | Single-dose autoinjector pen | Integrated, hidden internal needle | Push-down mechanism that automatically injects when pressed against the skin. |
| Compounded Semaglutide | Multi-dose glass vial | Sterile, ultra-fine insulin syringe (typically 31G, 8mm) | The patient manually draws up the precise liquid volume in units or milliliters. |
Self-injecting at home is simple when you follow a methodical clinical protocol. Always wash your hands thoroughly with warm water and soap for at least 20 seconds before handling your medication or supplies.
This protocol applies to patients who have been prescribed branded medication, such as Ozempic in South Florida, or Wegovy autoinjectors.
This protocol applies to patients undergoing supervised semaglutide treatment utilizing sterile glass vials and insulin syringes. Always use a brand-new, sterile syringe for every weekly injection.
Achieving optimal clinical outcomes requires avoiding common self-administration mistakes. These errors can compromise the sterile nature of the medication, cause unnecessary pain, or result in receiving an incomplete dose.
The first critical mistake to avoid is reusing needles. Reusing a needle dulls the metal tip, which significantly increases pain, bruising, and localized skin irritation. More importantly, reusing needles introduces bacteria into your medication vial or skin, presenting a severe infection risk. Standard sterile pen needles or insulin syringes are highly affordable, costing approximately $15 to $40 for a box of 100, meaning there is never a clinical reason to reuse a device.
The second mistake is injecting cold medication directly from the refrigerator. Cold Semaglutide can cause a sharp stinging or burning sensation during administration. To prevent this discomfort, let your pre-drawn syringe or pen sit at room temperature for 15 to 30 minutes before your scheduled injection time.
The third mistake is shaking your medication vial. Compounded Semaglutide is a delicate peptide chain. Shaking the vial vigorously can break down these sensitive peptide structures, reducing the overall potency of the medication. If you see any natural separation, gently roll the vial back and forth between your palms for 10 seconds rather than shaking it.
The fourth mistake is withdrawing the injection needle too quickly. Pulling the needle out immediately after pressing the plunger can result in a “wet injection,” where a significant portion of the medication leaks out onto your skin. Ensure you hold the needle in place and slowly count to six (for autoinjector pens) or five seconds (for syringes) before removing it from your skin. Placing your used supplies in an FDA-compliant sharps disposal container, which costs about $10 to $25, keeps your household safe.
Injecting Semaglutide into the front of the thigh is the most effective clinical strategy to reduce gastrointestinal side effects like nausea. The thigh has slightly slower absorption dynamics compared to the abdomen, which prevents a rapid initial spike of the medication in your bloodstream while delivering identical long-term weight loss results.
Yes, you can adjust your weekly injection day if necessary. However, you must ensure that your last dose was administered at least two days (48 hours) prior to your new scheduled day. Never take two full doses of Semaglutide within a 48-hour window, as this significantly increases your risk of severe gastrointestinal toxicity.
Finding a tiny, bead-sized drop of liquid on your skin immediately after removing the needle is a normal occurrence and does not indicate a failed dose. Do not inject another dose to compensate. To prevent this from happening during your next scheduled injection, ensure that you count slowly to six before withdrawing the pen needle, or hold the syringe in place for five seconds after the plunger is fully depressed.
Unused Semaglutide pens and vials must be stored in your refrigerator at temperatures between 36°F and 46°F. Once you begin using an Ozempic® or Wegovy® pen, you can store it in the refrigerator or keep it at room temperature (59°F to 86°F) for up to 56 days. Never allow Semaglutide to freeze, and immediately discard any medication that has been frozen or exposed to direct, extreme heat.
No, self-injecting any GLP-1 receptor agonist without professional clinical oversight is highly unsafe. Undergoing medically supervised semaglutide treatment ensures you receive the correct dosage adjustments, essential lab monitoring, and expert guidance to avoid medical complications. At CardioMender, MD Weight Loss Specialists, our board-certified medical team supervises every patient’s program at our clinic in Pembroke Pines, FL, serving individuals throughout Broward and Miami-Dade counties, including Weston, Miramar, Davie, Hollywood, and Miami.
Our physician-supervised weight loss and aesthetic programs are designed around your unique body, goals, and lifestyle.